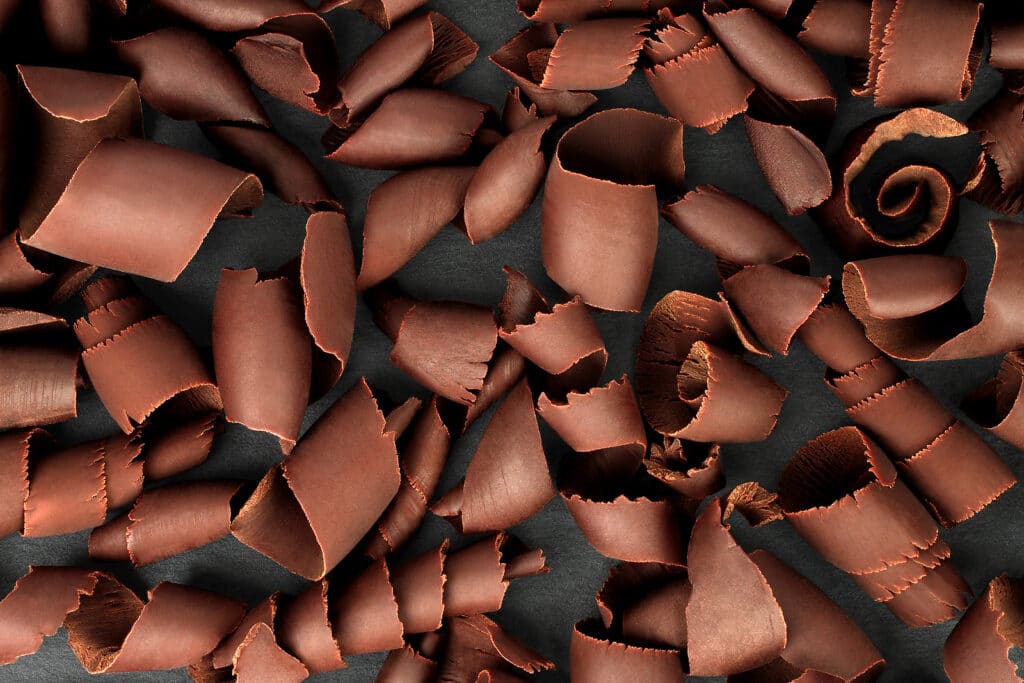
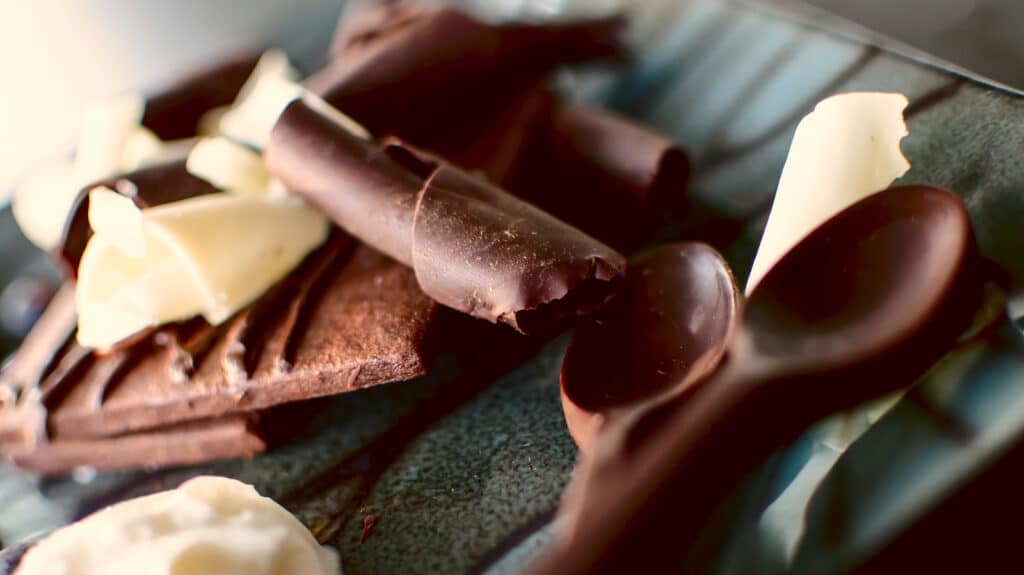
Into your cake decorating? Want a sweet treat to go on top of your ice cream or another dessert you’ve got in mind? Then you might be interested in sprinkling a few chocolate curls on top of whatever delight you’re planning on putting together! But you might not know how to make chocolate curls. Luckily, we can help you out with this handy guide!
Take a look below if you want to learn how to make chocolate curls – all different kinds too, not just the standard milk chocolate variety. You’ll be making tip-top toppings for your cakes, tarts, and other goodies in no time!
Ways to Make Chocolate Curls
The ways to make chocolate curls are nearly as diverse as the curls themselves! Because there are lots of different ways that you can use to make them, we’ve decided on a few of our favourites that are easy to do at home and won’t require anything too complicated or difficult to find in your local supermarket.
Before you begin, you’ll need as much chocolate as you need to do your cake decorating or to make toppings for your desserts. This will usually mean getting a big bar or several bags of chocolate chips if you want to melt the chocolate and make a chocolate slab to shave your curls from. The rest of your utensils can vary from here, from vegetable peelers and knives to cheese graters and even rolling pins!
How to Make Chocolate Curls
The neatest (and probably the most common) method of making chocolate curls is with a vegetable peeler. You’ll also need to make sure you’ve got a chocolate bar or block that you want to make your shavings and curls from (it can be dark, milk, or white chocolate), at room temperature, and a baking sheet or some parchment paper for this:
- Microwave your chocolate bar or block until it’s slightly softened (you shouldn’t microwave it for more than 20 seconds at first or it’ll be too soft)
- Hold the softened chocolate bar above the parchment paper, or put it square-side down on the paper, and gently but firmly scrape the vegetable peeler against the long, smooth side of the bar; hold the block with more parchment paper so that the heat from your hand doesn’t melt the bar further
- If the chocolate curls easily without any of them shattering or breaking, it’s warm enough and you can keep going. If it isn’t working like it should, microwave the bar again in 5-second intervals until it curls easily
- Make as many curls as you need, letting them fall onto the parchment paper and reheating the bar if this is ever necessary
- Leave the curls on the parchment paper so they can set; avoid touching them as much as possible and if you’re not planning on using them for a while put them in the fridge
- Pick the curls back up when you need them for your cake decorating, ice cream topping, or anything else that you’ve got in mind for lots of lovely little pieces of chocolate!
How to Make Big Chocolate Curls
Making big or long chocolate curls doesn’t have too special a trick to it. Depending on the shape of curl you want, you might want to switch to a knife rather than a vegetable peeler. For long chocolate curls, you can stick with the vegetable peeler and simply scrape your way deeply and steadily down the whole length of the bar.
For big chocolate curls that are much wider, use a knife for this instead – the blade is likely to be bigger than a vegetable peeler, resulting in more chocolate scraped. It might take a few tries to get it right, though!
Making Extra Large or Long Chocolate Curls

If you want to make some really big chocolate curls for more unique-looking decorative desserts, you might even give the rolling pin method a go. This involves a rolling pin, some parchment paper or waxed paper, and rubber bands:
- Wrap the chosen paper around your rolling pin and secure it with rubber bands. This keeps the paper from unrolling
- Spread out some more waxed or parchment paper underneath the rolling pin to catch falling chocolate
- Scoop up some melted chocolate using a large spoon, ladle, or cup, or pour it into a piping bag (you might have one of these if you’re a bit of a home cook), and pour or pipe it out slowly onto the rolling pin in a large zig-zag pattern
- Complete the piping or pouring across the entire length of the rolling pin and leave it to let it set
- Peel the chocolate curls carefully off the rolling pin and place them on a plate covered in wax or parchment paper; this should go in the fridge or freezer to set
- Retrieve the curls when you need to use them, or store them for slightly longer in the freezer in some press seal bags
How to Make Small Chocolate Curls
You can also use a knife to make small chocolate curls by using a smaller amount or even just the tip of the blade. Switching up your angles can even give you different shapes!
If you want the smallest chocolate curls possible, or even just chocolate shavings, you might be best off simply using a cheese grater. Using a cheese grater will give you lots of little curls and shaved chocolate pieces – more than enough to cover your dessert, most likely!
How to Make Striped Chocolate Curls
To make striped chocolate curls, you’re going to need more than one kind of chocolate. Usually this will be milk chocolate and white chocolate, but it can also be dark chocolate and white chocolate, or even dark chocolate and milk chocolate if you’re looking for darker brown stripes.
Of course, you’ll have to start by melting the chocolate you need in separate bowls:
- Spread out the first chocolate you want to work with on a hard, flat surface (like a counter covered in parchment paper) and work it back and forth with a knife to make it even
- Comb the chocolate before it sets using a chocolate comb or a fork to create lines; this is what will make the curls striped
- Leave the chocolate to set at room temperature (unless the room is very warm – in this case, you should put it in the fridge)
- When the chocolate has just set, pour the other chocolate you want to use over the first lot, spreading it out with a knife to make it even
- Once the second layer of chocolate has set, scrape your vegetable peeler or knife at a 45° angle over the top of the chocolate; the stripes should curl as they come away
- If the chocolate has set too firmly leave it in a warm place for a little while and then try again
Take a Look at Our Other Tutorials

Now that you know how to melt chocolate and how to make chocolate curls and slabs, why not take a look around some of our other blog posts and tutorials? We’ve got some great advice on how to make hot chocolate bombs, or even on how to make a chocolate tree like we do!
Of course, you can always take a look around at what we’ll deliver to your door in no time, if you’d prefer your chocolate pieces in larger chunks and bars. There won’t be any cleaning up to do, either!
Ordering Online is Easy
Have a peek at what we’ve got and order all your favourite treats in one place! It’s easy to do from your computer or phone; just pick what you want, add it all to your basket, arrange a date for delivery and complete your payment. We’ll take over from there and leave you to sit back, relax, and wait for your delicious delivery.
Order all the chocolate treats you could ask for from Sweet Tree by Browns and enjoy a truly sweet feast today!


Leave a Reply